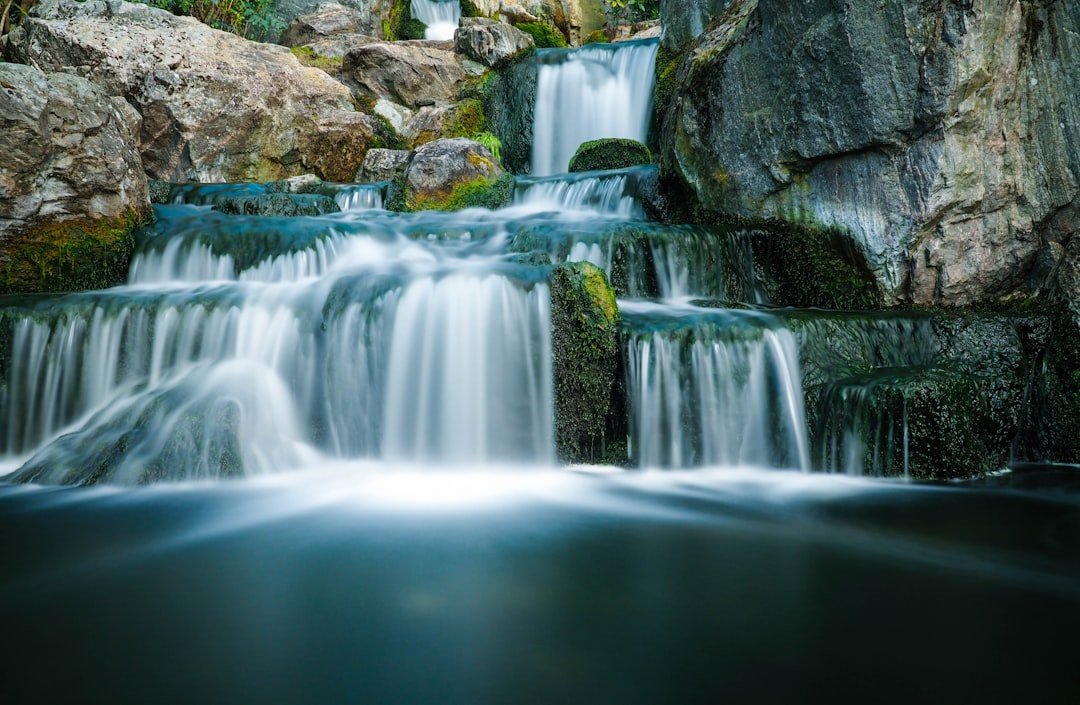
Getting Started with Cascading Water Photography
Waterfall photography represents one of the most rewarding yet challenging specializations within landscape photography. Whether you’re drawn to the dramatic power of massive drops or the delicate beauty of gentle cascades, mastering this niche requires a thoughtful approach to equipment selection, location scouting, technical execution, and personal safety.
Essential Gear Considerations for Water-Based Shoots
Building the right kit for waterfall photography differs meaningfully from general landscape work. A sturdy tripod becomes non-negotiable, as hand-holding during extended exposures introduces unwanted camera shake. Neutral density filters—particularly variable ND models—allow you to extend shutter speeds in bright conditions, enabling that coveted flowing water aesthetic. Investing in quality weather-sealed lenses protects your equipment from moisture while maintaining optical performance. Don’t overlook protective accessories: lens filters prevent water spray damage, while a reliable camera strap ensures security on potentially slippery terrain.
Location Scouting and Seasonal Timing
Success begins before you arrive at your destination. Research regional waterways during peak flow periods—typically following heavy rainfall or spring snowmelt. Scout locations digitally using satellite imagery and visit during off-peak hours to identify optimal vantage points without crowds. Proximity to parking, trail difficulty, and accessibility for camera equipment should inform your planning. Consider visiting during different seasons to understand how lighting angles, water volume, and surrounding vegetation transform your subject matter.
Mastering Light and Environmental Variables
Waterfall photography demands acute awareness of directional light. Morning or late afternoon sessions often deliver superior results, with side-lighting revealing texture and depth. Overcast conditions eliminate harsh shadows and provide even illumination across your frame. Understanding how mist and spray interact with available light helps you predict exposure challenges and adjust accordingly. Dynamic range management becomes critical when bright sky meets dark water—graduated filters and exposure blending techniques prove invaluable.
Technical Camera Settings for Optimal Results
Achieving that signature silky water appearance requires slower shutter speeds—typically between one and four seconds depending on water velocity. Start with ISO 100 and aperture f/16 for maximum depth of field, then adjust shutter speed using your ND filters. Employ manual focus with live view magnification to ensure critical sharpness at your intended focal point. Bracket exposures to expand tonal range, particularly when capturing mist or spray.
Safety Considerations Near Moving Water
Prioritize personal security above all photographic goals. Wear non-slip footwear with adequate grip, move deliberately across wet rocks, and never position yourself in direct water flow. Scout escape routes and understand water current behavior before beginning your shoot. Inform someone of your location and expected return time. Weather changes rapidly near water features—wind gusts and sudden rainfall create hazardous conditions that warrant immediate retreat.
Developing Your Artistic Vision
Beyond technical proficiency, exceptional waterfall photography reflects intentional creative choices. Experiment with varied shutter speeds to convey different moods—faster speeds freeze motion while slower speeds emphasize flow. Adjust composition to incorporate foreground elements and surrounding landscape context. Return to successful locations multiple times, allowing familiarity to guide increasingly sophisticated visual solutions.